
“We should do up the hallway” I said one day. My husband just looked at me blankly and nodded. He doesn’t mind what I do in the house decor wise, infact I often joke I could paint pink polka dots on the majority of the walls and it would still take him a day or two to realise. So he really leaves this stuff up to me.
Our hallway was a dark, depressing thin space and lacked any personality at all, so I set to work I knew I wanted a statement wallpaper and had seen one I loved. “Graham & Brown – world heritage” in navy. Now baring in mind I wanted it to go across the back wall and continue up the entire staircase & we would need 5 rolls, I knew I would have my work cut out for me getting hubby to agree to it.. but this was in my vision and I couldn’t let go. SO… I followed certain websites waiting for sales and sure enough, just as they released the new collections, this wallpaper came up and dropped to something ridiculous like £14 a roll.. I struck while the iron was hot and got the rolls needed… Now I just needed the rest of my plan..
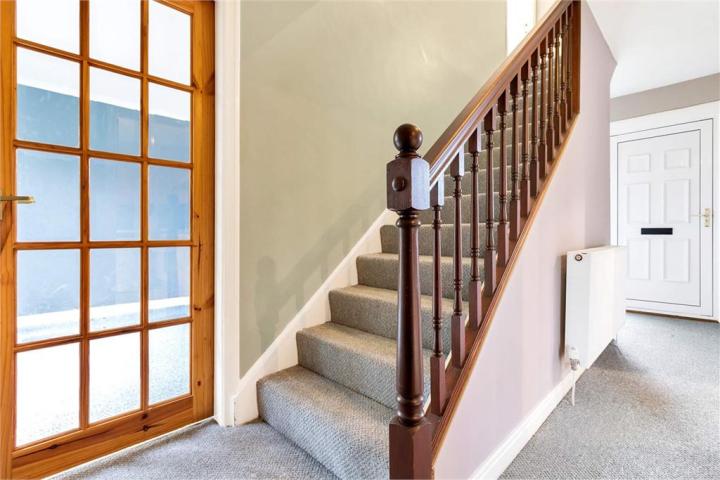
This was the hall before…
now the bone structure was fine.. it was just dull. The carpet was thin, measly, worn out and not nice under feet. The staircase was dark timber and the walls were “beige” at best. So time for my number 1 tool when beginning a project. I created a blank canvas and painted everything white. Do yourself a favour and buy the “once” paint.. otherwise you may teach your toddler new swear words when it’s still patchy after nine coats!!
Once everything was white.. I decided the stair way needed some drama.. so out came the Valspar tester pots from B&Q and I mixed up my own colour which I like to call “ink” This went on like a dream and added some much needed depth to the hall..

Sorry for the crazy blurry photo, this was taken whilst covered in paint and trying to stop my 1 year old sitting in the paint tray so it was taken in haste. We also gave the stair banister a good undercoat and then finally painted in a lovely antique white satin.. (pics of this soon) but even doing this lightened up the space immediately.
By the front door there is an alcove to the left and it was really a “nothing” space, so i decided to give it a little upgrade. Now by this point our budget was really stretched so I had to be creative. I knew I needed some pretty hooks.. so with the addition of some decoupaged tiles and some cheap hooks from home base I created a little coat nook.. So easy to do, yet so effective

I had carried the “ink” colour right around into the alcove so now had a lovely deep coloured backdrop to dress.
Next up.. what to do about a bench? All the upholstered ones in the shops were like £100 – £150 and I knew that wasn’t in the budget.. so I did what we do best.. I designed and built my own.. with about £10 of wood, some old foam I had lying around, about £6 of wadding and some gorgeous material I got in the sale for £19.. I made this..

Not bad for under £40 and it’s a great height for both big and little people to sit on for shoes etc.
The hallway needed some storage and I had been looking at hall console tables, but the cheapest one I had seen that I loved was still £145.. so I went for a look in our local charity shop and fell for a lovely wee unit that was bumped, bashed and needed some love. Out came the tester pots again and voila.. it was painted in valspar’s “Hinky Punk” to create a very splendid piece for our hall

here you can have a sneaky peek of my AMAZING wallpaper.. seriously.. I just adore it. My hubby adores that it cost him about £100 less than it should have (haha)
And finally, it was time to “dress the hall” .. now it’s still very much a work in progress, but I sourced this mirror to sit above the unit and I really feel it makes the whole hallway come alive.. The light now bounces around off the white walls and it feels transformed.

With the addition of some little baskets in anthracite grey, and a handmade flower trug and a cute bottle from our holidays that I turned into a vase… it’s starting to come alive and take shape. There is still a long way to go and we have even made updates since then which I will show you soon. The mirror was my “splurge” at £70 but it really is the centre piece of the whole entrance, so I feel I had to spend to make the right statement here… All in all including the bench, hooks & tiles, unit,wallpaper, mirror and paint, our hallway was utterly transformed for £212.72. A gorgeous look on a thrifty budget!
